It’s now easier than ever to create and deliver reading tests in Naiku to your students. Now, you can create reading passages and items and have them display side-by-side.
Follow these easy steps to create your next reading test.
1. Create Assessment
Click on the Assessments tab at the top. Then under Create, select New Assessment.
2. Create Passage
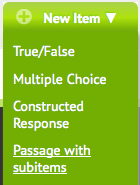
Under New Item, select Passage and subitems.
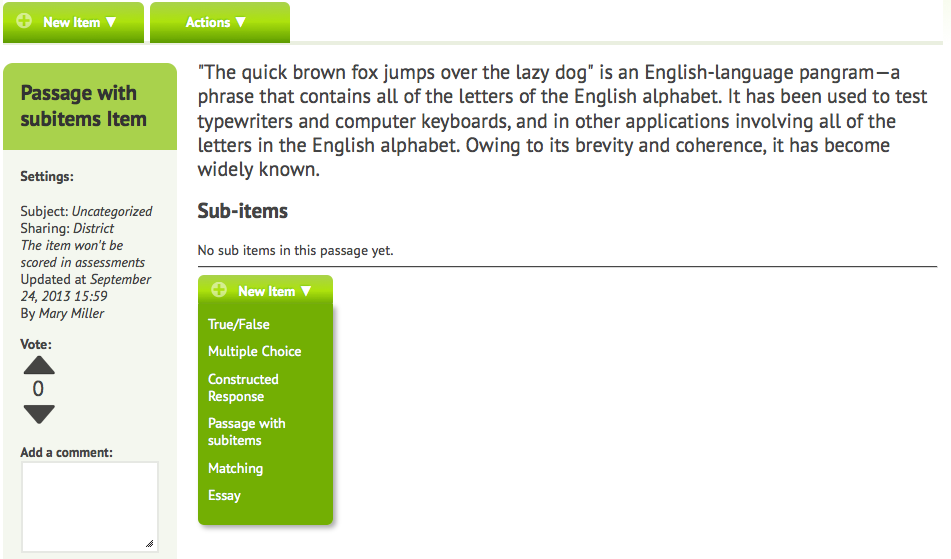
This will bring up the page to create your passage. Simply copy the text from you source file and paste it into Naiku.
After putting your passage in the stem, click on “Save and add to test”. This returns you to the test creation page. Below, you can see the passage that I’ve created.
3. Create Items
To add items to this passage, click on the passage. This will open the passage in another tab in your browser. From there, you can create your questions. You can create any type of question. All these questions will be “attached” to the passage, such that when you add the passage to the test, all the questions attached to the passage will also be included on the test.
4. Save Assessment
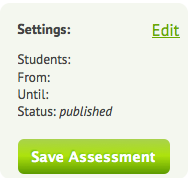
Once your’ve created all the your questions for your test, don’t forget to save the assessment.
5. Deliver Test
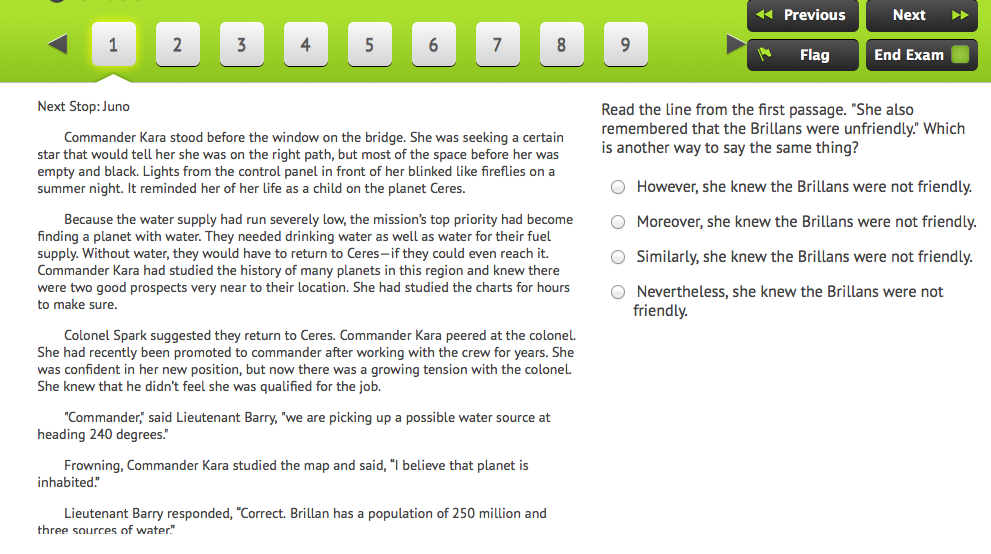
When the test is given to the students, they will see the passage and items side-by-side. In the screenshot below, you can see how the test and questions are displayed to the students. Note that students will be able scroll through the passage, without affecting the question display. They will always be able to see the questions. As they move from question to question, their position on the passage remains unchanged.
We hope you find this method of creating passages and questions easy and efficient. We believe your students will find it a much more effective and engaging way to take a reading test. As always, we welcome your feedback and suggestions.


